1. Getting the Pro Plugin
You can obtain the Pro plugin by signing up on our website. With the annual subscription, you’ll receive Pro support and regular updates for one year.
Alternatively, you can search for our free version on WordPress plugins by typing “Advanced WC Analytics” in the plugin search box.

Once you have the plugin, activate it to begin the configuration process.
2. Integrating Google Analytics with Your WooCommerce Website
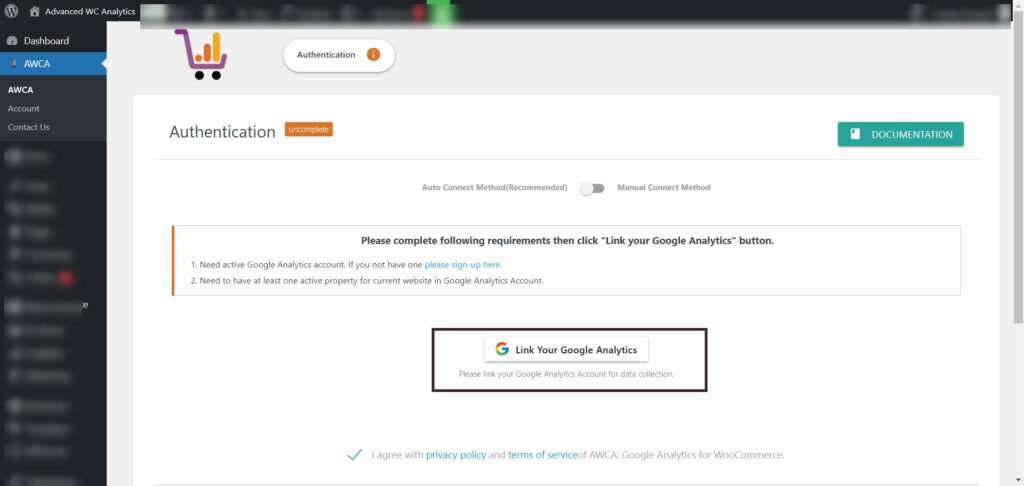
To start the authentication process, click the “Link your Google Analytics” button. After clicking, the Google consent screen will appear, where you will be asked to grant the required access to your Google Analytics account. This step is essential for better connecting your Google Analytics property with your WooCommerce website.
3. Choosing the Google Analytics Property and Saving Settings
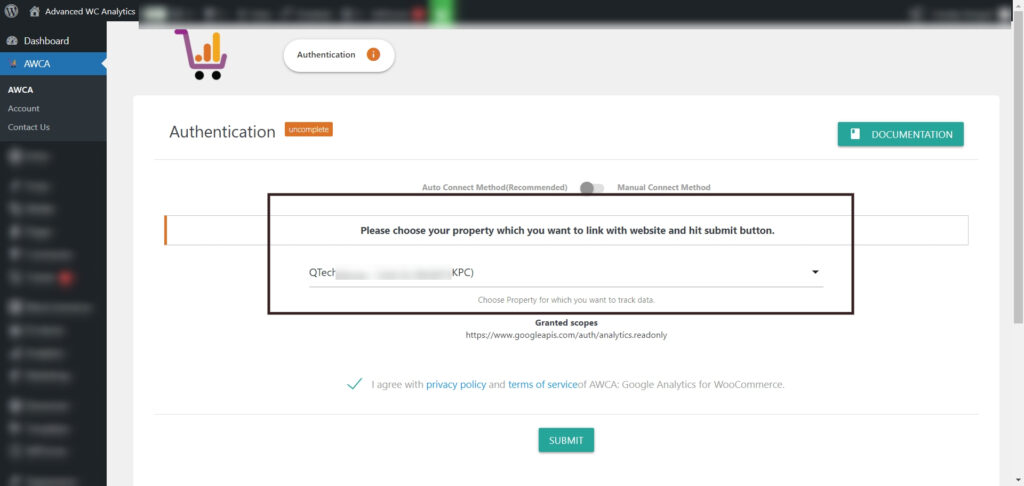
Once the linking with your Google Analytics account is complete, the next step is to choose the property you want to connect with your WooCommerce store. Select the appropriate property from the drop-down menu, then click the “Submit” button to finalize the linking process. Upon successfully saving the settings, a confirmation message will appear, indicating that your WooCommerce website and Google Analytics are now linked.
Manually Linking Google Analytics and WooCommerce E-shop
To manually link your e-shop and Google Analytics, first select the “Manual Connect Method” from Switch in the Advanced WC Analytics Plugin settings. This is necessary because, with this method, the plugin cannot provide you any data from Google Analytics. The plugin needs to ensure that you are sure about choosing this manual method.
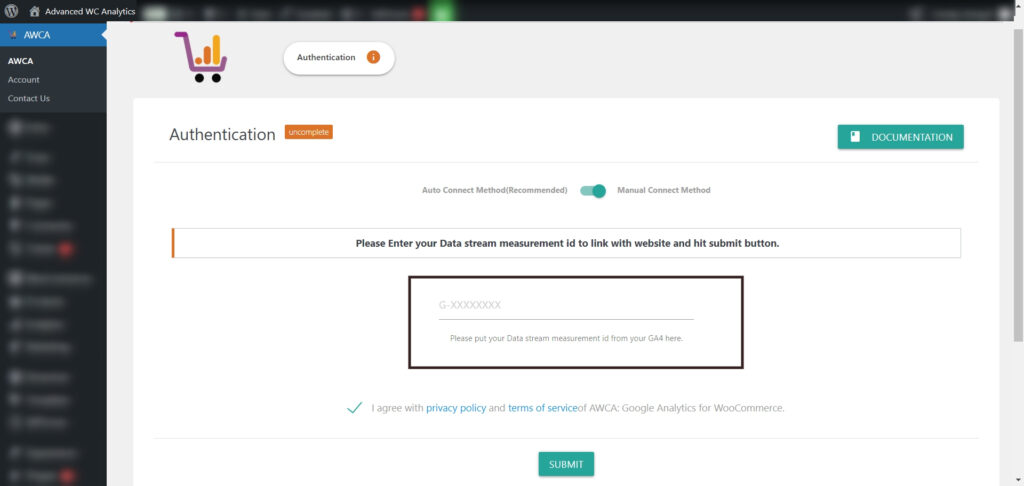
For GA4 tracking code you need to put your Measurement ID for Property in inputbox. Hit submit button to save changes.